


Version 1.0 – Written by Jason Dvorak. Enemy chart data pulled from the Japanese Starblade Laserdisc.

About this Guide
Starblade Alpha is a console port of an arcade game by Namco. The game is a ‘rail shooter’ where movement is taken care of; all the player needs to worry about is moving their gun reticle and firing. I can hear you saying, “Jason, it’s a 20-minute game, why would you need a guide?”
Easy, points! Lots and lots of glorious points!
The only objectives are to survive the 20 minutes and be number one on the scoreboard. Namco provided a hilarious number of enemies to shoot at, so why not find which ones are the best cannon fodder?
What’s Left to Do?
Unless something crazy happens, nothing. This is really all you need.
Controls
Controller:
L1 / L2 / R1 / R2: Speed Modifiers. Hold one to speed up the cursor. Hold any two for even faster speed.
Cross / Square / Circle / Triangle: Fire Buttons. Use whichever you prefer.
Directional Pad: Moves the cursor on screen.
Start: Pauses The Game
Mouse (Plugged into Controller Port 2):
Move the mouse for Cursor Movement
Both Buttons: Fire
You can use your other hand to press the Speed Modifier on the controller.
Stage Layout
The catch to ranking is knowing when to play offense and defense. Starblade Alpha is one of those few games where you can shoot and destroy the enemies’ bullets and missiles as they come at you. The ‘bullet hell’ can be relentless at times, and since the game only offers 4 credits (roughly one life per level), it’s imperative to take out the ammunition first and then go after the culprits.
The game is split into 4 areas, each with its own smaller sections. Note that no matter what happens, the game is always moving forward. Enemies you don’t kill will fly past and never return. So make every shot count.
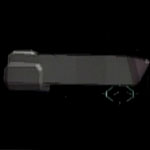
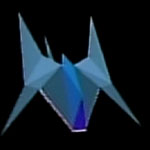
Stage One: GeoSword
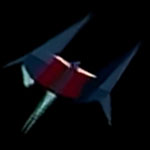
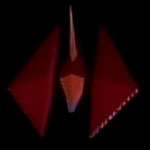
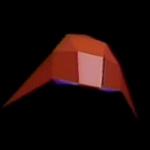
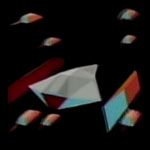
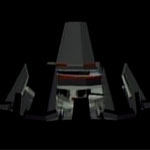
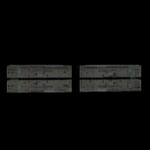
The human fleet is caught off guard by the Red Eye invading force. You’ll also get your first look at the Commander ship. From right out of the gate, you’ll have plenty of targets to pick and incoming shots to take down. The main focus here is the larger, background ships. Several of them can be destroyed quite easily during bullet hunting. During a vertical climb, you should be able to take out at least 2 to 4 of the rectangular-shaped ships.
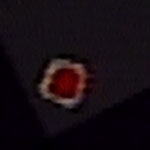
Once the ambush is over, you’ll chase the commander’s ship through warp and end up in the middle of an asteroid belt. Switch to defense here, with the order of priority targets being Eyes > Incoming Shots > Enemy Shots > Enemies.
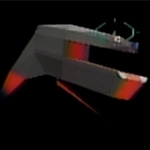
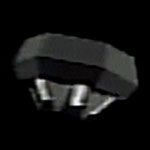
Stage Two: Enemy Armada
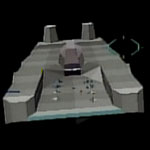
Once through the asteroid field, you’ll now be engaged with the entire enemy fleet. Here’s where you must go on full defense. Order of priority is Incoming Shots > Enemies > Background Ships. As you work your way to the factories (the giant cube-shaped structure), the Eyes will be back in full force. Unlike before, keep your focus on the shots. There is just too much flak coming your way
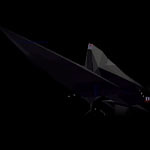
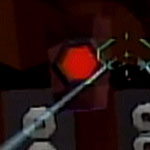
Stage Three: Red Eye
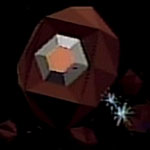
Nothing like catching the Red Eye flight, right? This section is split into 4 smaller sections. You’ll head towards the Octopus power reactor and eventually find yourself up against the remaining enemy armada. There’s no real strategy here as the priority will change based on how many continues you’ve burned through. If you’re down to 2 or fewer, play hardcore defense. If you’re still clinging to your original health bar, feel free to get daring in your point collection till you hit the next continue.
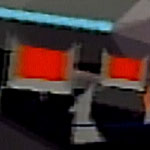
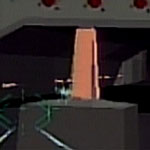
Stage 4: Iceberg and Commander
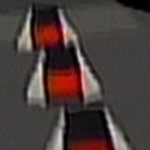
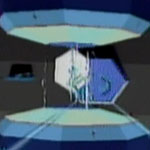
This is it! The absolute most brutal part of the game is here, and it’s a doozy. Buried inside the Iceberg is a massive power core, towering over anything seen before. Keep your cursor on the right side, bouncing between the bullets and the horizontal rods. Eventually, you’ll be able to point-harvest the core. Once it blows, and you make your escape, the commander is all that stands between you and the scoreboard. His assault is brutal and relentless. Your main focus should be on his bullets and missiles, while taking as many potshots at him as you can.
Once he’s had enough, he’ll explode into a burst of light, and the game is over. You saved the galaxy, congrats!
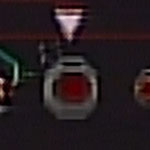
Enemy List
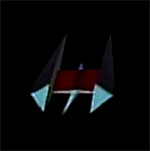
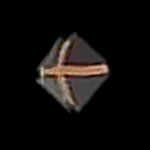
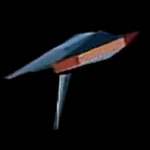
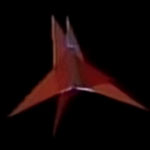
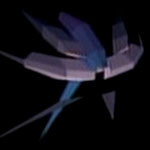
Some of the larger background ships and carriers are hiding a bounty of points. The Deltanose and Mandible are worth 5 digits each, allowing your score to rocket up quickly. As far as the three bosses go – the two cores and the Commander ship – they each hide a secret that can be exploited.
The first core, inside Octopus, fires its ammunition mainly from the center and left side of the screen. You can wedge the reticle between the core and the floating orbs on the left. This keeps the bullets at bay while hitting the orbs as they come around.
For Red Eye’s core, do the opposite, focusing on the right side as the extensions come around.
The Commander ship is a bit more curious. While he can’t be killed in your first two encounters, he does take damage and award points. You can add a healthy little chunk of score by wailing on him. In the final encounter of the game, focus on their bullets. Everything else will fall into place.
| Enemy Type: | Enemy Type: | Points Value: | Hits Needed: |
|---|---|---|---|
 |
Twinhook A-Type | 500 | 1 |
 |
Deathball A | 400 | 1 |
 |
Rocky Eye | 800 | 3 |
 |
Twinhook B-Type | 700 | 1 |
 |
Hunter | 1000 | 1 |
 |
Screwhead | 3000 | 6 |
 |
Hawknose A-Type | 900 | 2 |
 |
Mad Hunter | 3400 | 5 |
 |
Scutter | 3000 | 8 |
 |
Tanker | 3000 | 5 |
 |
Twin Hulls | 3000 | 6 |
 |
Hammerhead | 6000 | 12 |
 |
Hammerhead Missile Launcher | 1400 | 1 |
 |
Deltanose | 10000 | 16 |
 |
Deltanose Large Cannon | 1800 | 1 |
 |
Mandible | 15000 | 14 |
 |
Shadow Ring | 800 | 1 |
 |
Red Hunter | 1400 | 3 |
 |
Large Eye | 1800 | 1 |
 |
Middle Eye | 1000 | 1 |
 |
Deathball B | 800 | 2 |
 |
Bomb Carrier | 900 | 1 |
 |
Red Cock | 900 | 1 |
 |
Hacknose B Type | 1100 | 2 |
 |
Wall Eye | 1600 | 1 |
 |
Log Eye | 5000 | 6 |
 |
Sky Eye | 3000 | 1 |
 |
Shotgunner | 2000 | 11 |
|
Slug (The tiny peach/pink things) | 1000 | 1 |
 |
Sandworm | 2400 | 4 |
 |
Javelin | 800 | 1 |
 |
Pipebee | 1000 | 2 |
 |
Guard | 5000 | 8 |
 |
Octopus | n/a | n/a |
 |
Octopus’ Power Stone Chamber | n/a | n/a |
 |
Iceberg | n/a | n/a |
 |
Commander | 100,000 | n/a |