


Version 1.5 – updated 5-26-2023. Written by Jason Dvorak.

Welcome to the Blazing Dragons guide!
This is a spoiler-free walk-through of Crystal Dynamic’s cheeky point-and-click game. Only the essentials are listed to help players who are stuck. To fully enjoy the game and use this guide, you will need to make sure you do the following in-game:
a. Choose every dialogue option.
b. Use the Look Icon (the Eye) on everything.
c. Use this as a last resort. : )
For this walk-through, location screenshots are presented only the first time you arrive at them. Important items are highlighted in blue. This way if you just need help in a single moment, you can easily find what you’re looking for. All item names are taken directly from the manual for consistency.

Controls
This point-and-click adventure uses a simple Icon Scroll and storage system.
D-Pad: Moves the cursor around the screen.
Cross (X): Uses your selected Action. Accepts fast-forwards dialogue.
Triangle: Opens up and closes Flicker’s Bag.
R1: Cycle through the Action Icons.
Start: Pauses the game and provides options like Saving and more.
Actions
Actions are how Flicker interacts with the world. You have the following moves:
Eye
When droopy, there is nothing to see. When it opens wide, press Cross will have Flicker inspect, comment or read something. Several puzzle solutions in the game require you to have read something first to have the proper dialogue option.
Foot
This moves Flicker around. Move this on doors and the edge of the screen to transition between locations.
Jaw
Use this to talk to characters and animals.
Claw
Its default is an open “hand”, but if you’re able to take or interact with something, it will turn into a closed fist. Can use this to open doors as well.
Flicker’s Face
This is when you’re in his bag. You can press on this to leave the bag.
Walk-Through – Part 1

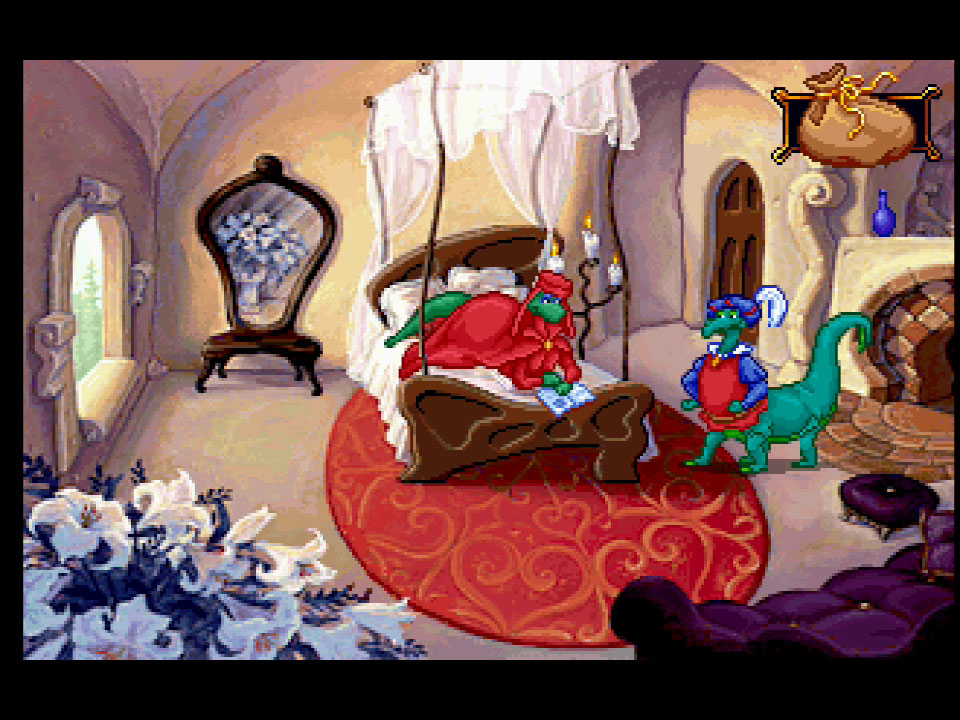
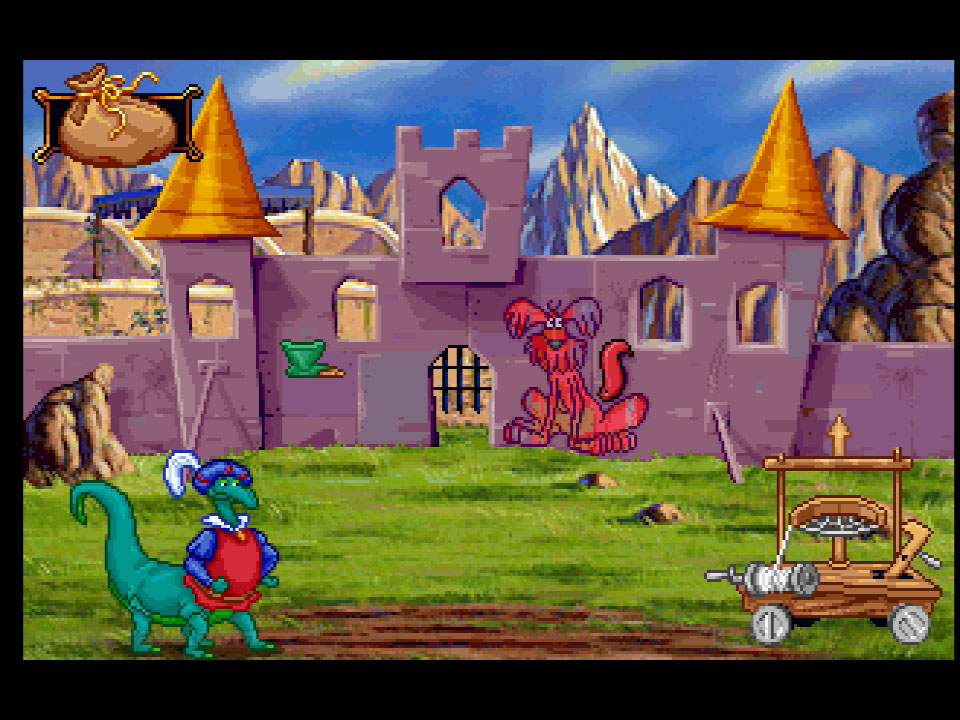
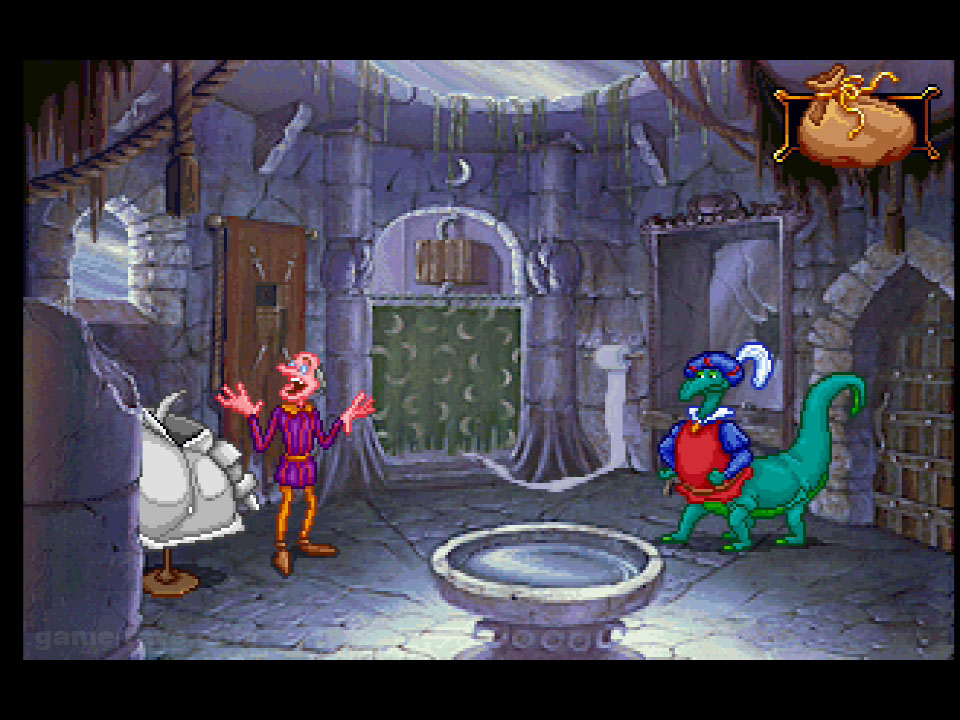
Flicker’s Bedroom
Once you have control of Flicker, you will need to grab Pavlov’s Jar and his Invention Book from the table. Then snag his Tail Warmer from the foot of the bed. Head out the door to the Hallway. You will already have his Clicker invention in his bag.
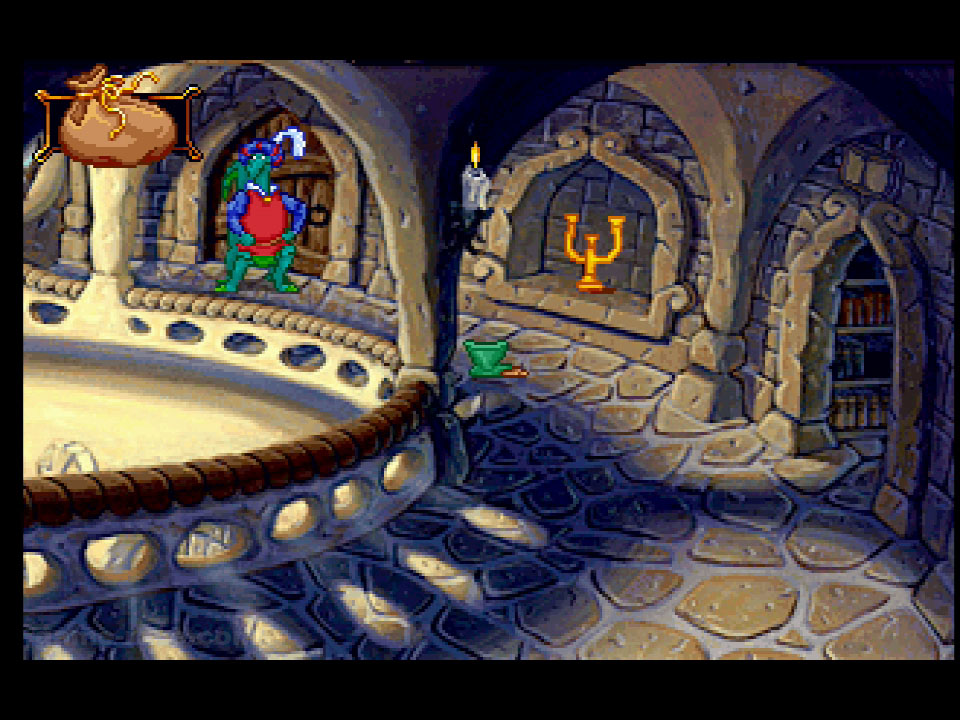
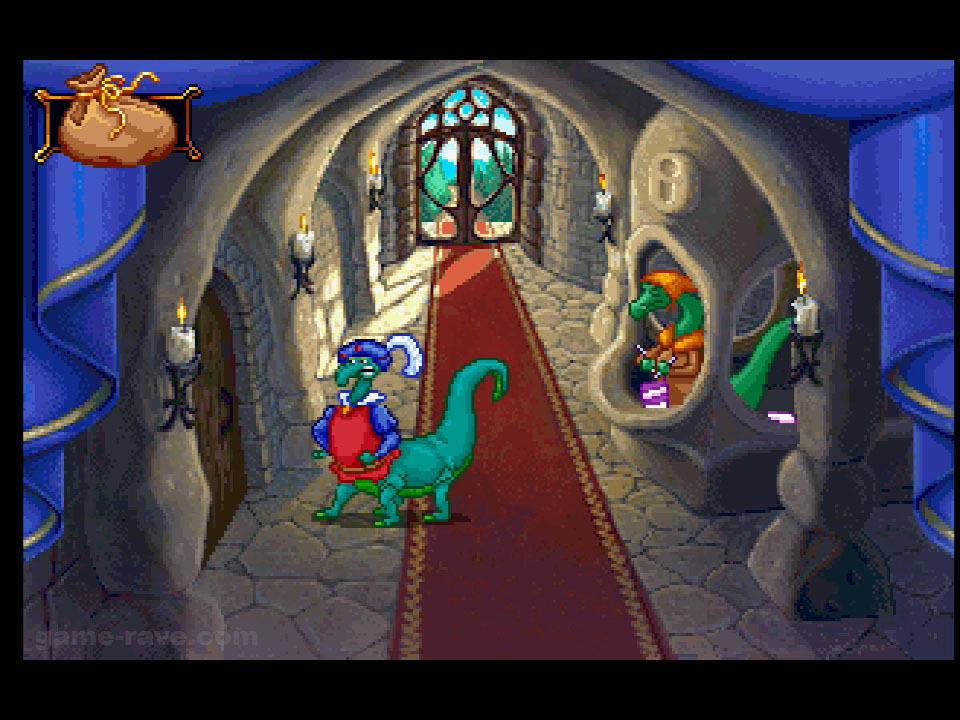
The Hallway
You will need to grab the yellow Candelabra from the wall shelf. Now mosey into the Library next door.
The Library
There will be a lot more happening here in the future, but for now, we just need to read the poster on the left wall. Head back out into the Hallway, and then move down and to the left, walking off-screen. This will take you to the Square Table area.
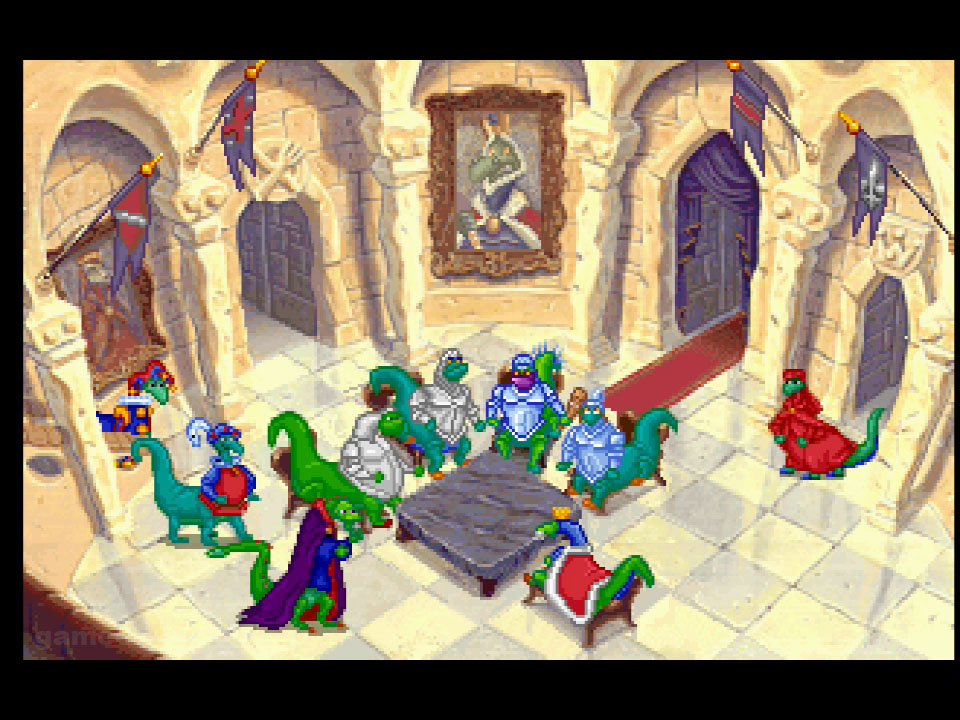
Square Table
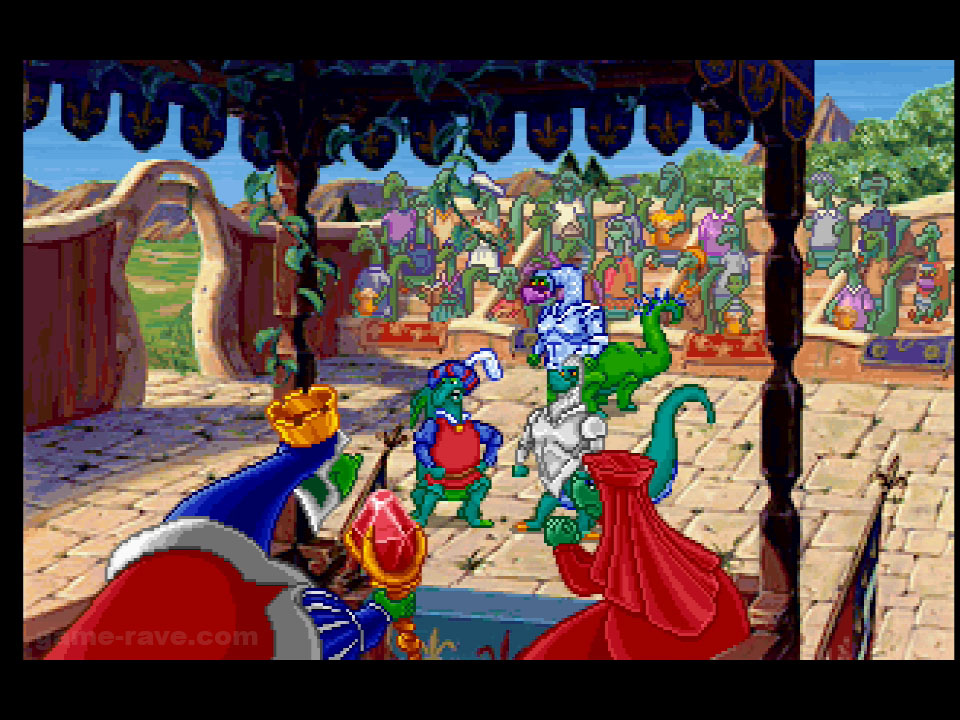
The entire main cast of characters is here. King All Fire, his daughter Flame (and Flicker’s love interest), Sir George The Human, Merlin, the Chancellor, and all four of the king’s knights. A cinema here will set up the game’s main story. Once done, you’ll find yourself in the Kitchen.
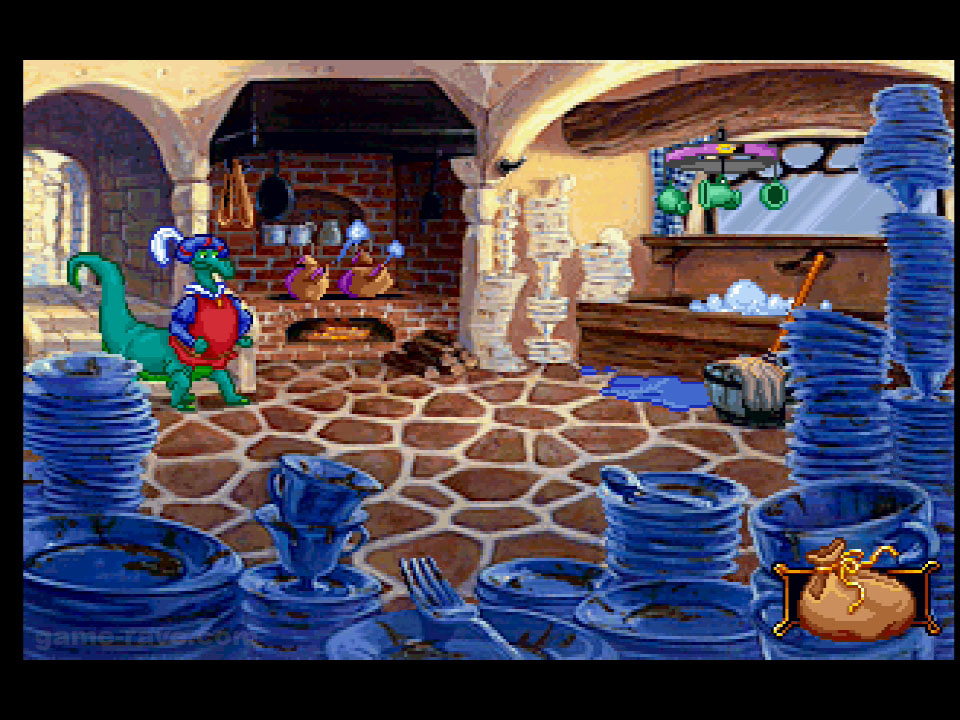
Kitchen
Well, we’re going to wash some dishes, and there is a whole lot of them. This is where you will get your first real taste of how you’ll need to approach puzzles. First, let’s grab the Salad Tongs from right above Flicker. We’ll need those much later in the game. We already have what we need except for one item, and it’s right in front of us. Grab the Mop from the sink area and use it on the cup rack above the sink.
From here, we can open Flicker’s bag and apply the Candelabra to the teapots. Back into the bag to grab his Tail Warmer on the Candelabra to create a steam-powered dishwashing machine. Neat! Several automatic conversations will be had while you do this, but once you’re free to leave, you can leave the kitchen…but not the castle.
You will end up back in the Square Table area. Head to the farthest right doorway, which will bring you to the Royal Hall with two doors. Head into the left room, which is the King’s Chambers.

King’s Chambers
Here you will need to pick up two items: the first being a Pipe Cleaner from the pile spilled on the couch in the back of the room. The second item is the Monarch Quarterly magazine on the bed. Once you have both of these, you can head back into the Royal Hall and through the right door into Flame’s Room.
Flame’s Room
Ah, Flicker’s romance option. Though she’s his only option so it’s more a lack of one. But hey, they’re cute together! Here’s where you get the first taste of important dialogue conversations. You can run through all of them, but the important one is the second choice, “Do you have any more advice for a knight?” She’ll blow a kiss that Flicker fails to catch. Now use Pavlov’s Jar on her, and he’ll successfully trap Flame’s Flying Kiss in the jar.
Turn around to the mantel and snag the blue bottle of Hair Tonic. Now return to the Square Table area, and head out the center hallway to the Castle Entry.
Castle Entry
Talk to the receptionist, and she’ll eventually give you the Camelhot Map. This acts as a wonderfully useful fast travel map. But not right now – for now head into the door on your left.

Chancellor’s Quarters
Another room that will play a bigger part later on. For now, glance around the room while the Chancellor chastises you. After he’s done you’ll find yourself back in the Castle Entry. Now you can head out the upper door to freedom. This will bring up the Camelhot Map.

Camelhot Map
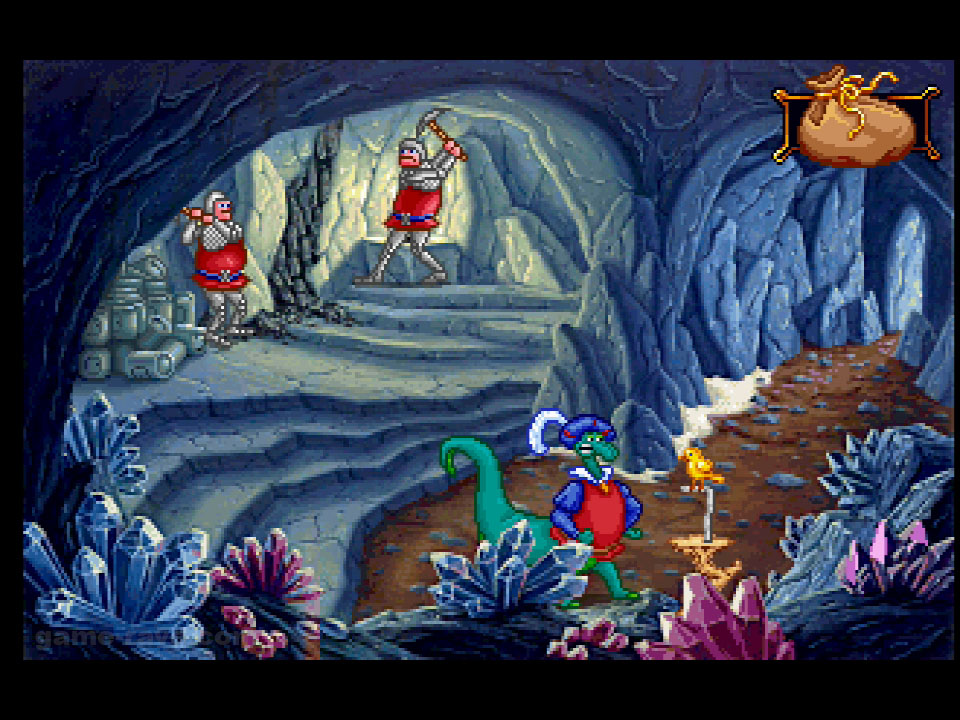
The map is actually really useful. Besides showing you all the places you can go, it won’t reveal new locations until certain puzzles have been solved. Right now we need to track down all the knights, but we’ll have to go about this the comical way. The first location we need to go is the Grimmly Insane, found at the fallen beanstalk at the bottom left of the map.
Walk-Through – Part 2
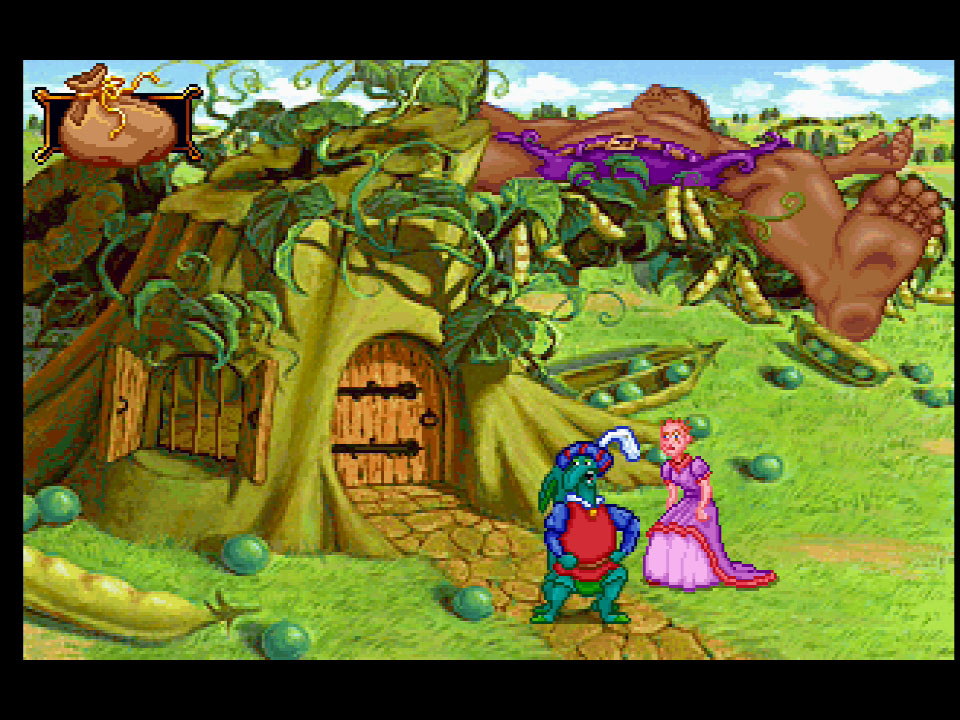
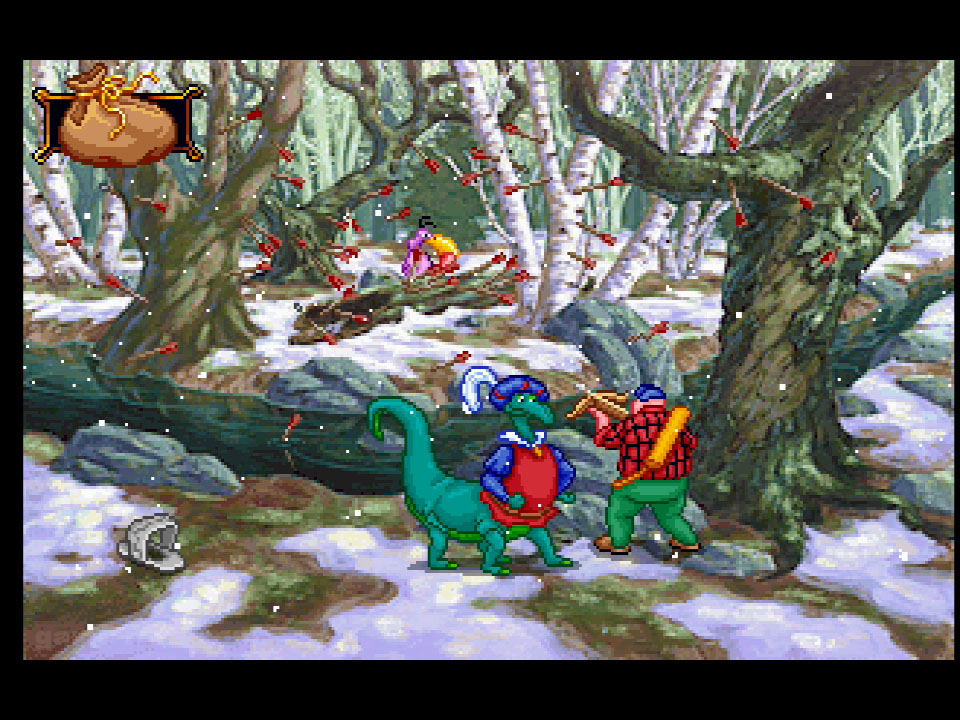
Grimmly Insane (Outside)
Right away you know crazy things are afoot. First, you’ll need to grab the Magic Bean from the ground near your feet. Now use the Hair Tonic on Rapunzel. She’ll immediately chop off her long blonde locks. Pick up Rapunzel’s Hair and stash it. Talk to her again and she’ll eventually trade you her Clippers (shears). Time to see the doctor. Enter the tree.

Grimmly Insane (Inside)
We’ve got a party! We’ll have to come back, but for now, use Pavlov’s Jar with Flame’s Flying Kiss on the gentleman who thinks he’s a frog in the lower right of the screen. He’ll actually turn back into a Frog. Snag him and stash him. Head back to the map, it’s time for a little detour.
Once on the map, choose Downtown Camelhot, the brown-colored village right of the beanstalk.

Downtown Camelot
For right now, there’s nothing to do here, but there will be a LOT to do later on. Right now our concern is with the Tournament Entrance. Head left through the archway with the crows.
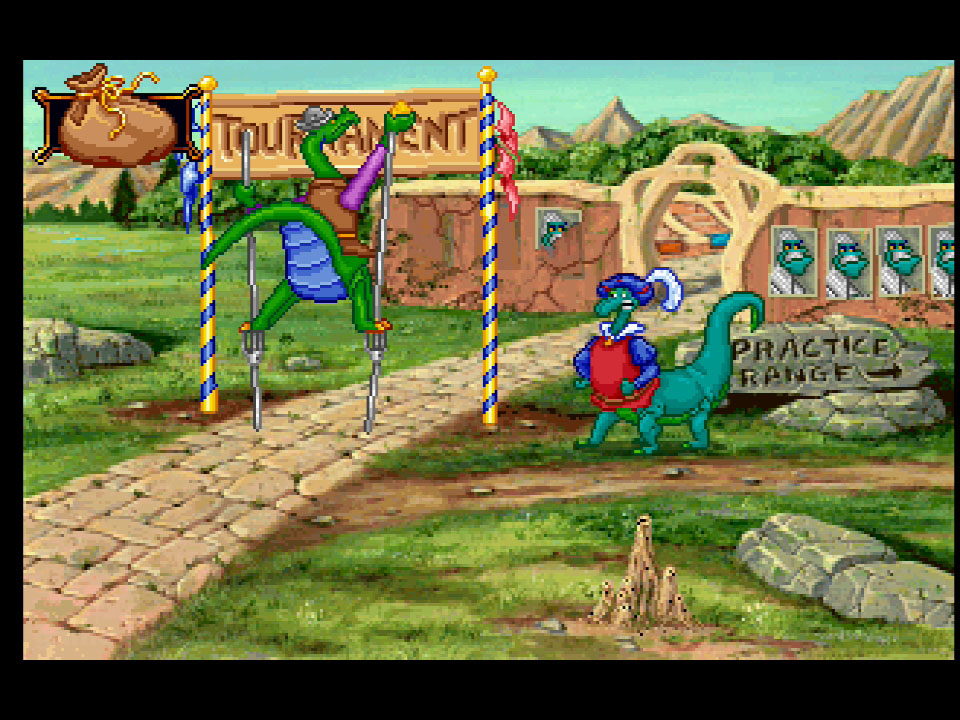
Tournament Entrance
Well well, if it isn’t a local contractor taking care of his duties. First, talk to him so he climbs down from his stilts and takes a coffee break. We’ll come back to him later. Next, use the Pipe Cleaner on the Termite mound near the bottom right of the screen. They’ll stick to the Pipe Cleaner. Stash that gross new item, and then mosey on onto the right side of the screen.
Cat-a-Pult
Here’s the first real mini-game of Blazing Dragons. You will need to launch a helmet-wearing cat into multiple pop-up targets. The goal is to knock down at least 9 of the 10 targets you see. They’ll appear at multiple heights, but always in the same order. So if you fail, just memorize their sequence.
The Controls:
Left / Right: Moves the catapult left and right.
Cross Button (X): Launches the cat.
If you simply press Cross, that’s the 1st level of height you can reach. If you hold Cross before firing, Flicker will pull the cord further down, which is reflected in the animation. There are roughly 5 heights you can reach. Once you have successfully pulled off the training, the Cat comes stumbling out. Bag ’em and tag’em. With this out of the way, it’s time to head back to the Grimmly Insane.
Grimmly Insane
Now that we’re back, use the Pipe Cleaner Covered in Termites on the Pied Piper. After a fairly long scene unfolds, the knight will gift you his Tartan Ribbon. With everything tidied up here, use the map to fast-travel to the Back of the Castle – what looks like a garden behind the castle in the upper left of the map.
Back of the Castle
Well, a little bit of poor eyesight seems to be causing problems for the King. Use the Magic Bean you got from Grimmly Insane on the King’s garden soil. The thankful if embarrassed knight will gift you with Peruvian Coal.
Now use the map to warp to the Tranquil Pool, near the top of the world.

Tranquil Pool
Take the Frog you earned and use it on the other frog. Love at first sight! With his reflection gone, the knight will bestow upon you his Hand Mirror. With this knight taken care of, the final knight’s location will appear on the map. Head there.
Bottom of the Hill
The first order of business is to swipe the Pitchfork from the hay bale. Talk with the knight as much as you can, and then head up the hill via the path to the far left.
Top of the Hill
Jinkies, it’s Sir George! And he has his pet dog with him. Time to use the Cat we got from the Cat-a-pult on his dog. This will start a cinematic and eventually you’ll be back at the bottom of the hill with the last knight. Pick the third text choice to become his squire. He’ll give you his laundry Soap. Another cinematic will carry out, eventually landing you back in Flame’s Room.
Flame’s Room
The Princess has had it! To help her out, use Rapunzel’s Hair on the window. A very long sequence of events will play out, and when it’s done you’ll find yourself without your bag. Time to take matters into your own hands. Head to the Chancellor’s Quarters.
Chancellor’s Quarters
Here’s where we get to raid the room. Once you’re by yourself, snag the Cracker from the black stand left of the bird cages. Take the Dodo Stamp and the Eagle Stamp from the desk. Now read (Eyeball icon) the black book on the corner of the desk. You can’t take it, but we need to know the title of it. With this room taken care of, we can now proceed to knock out several castle puzzles at once. Head back to Flame’s Room.
Flame’s Room
Grab Flame’s Trunk and the Sheet with Holes from her bed. Now dash over to the Library.
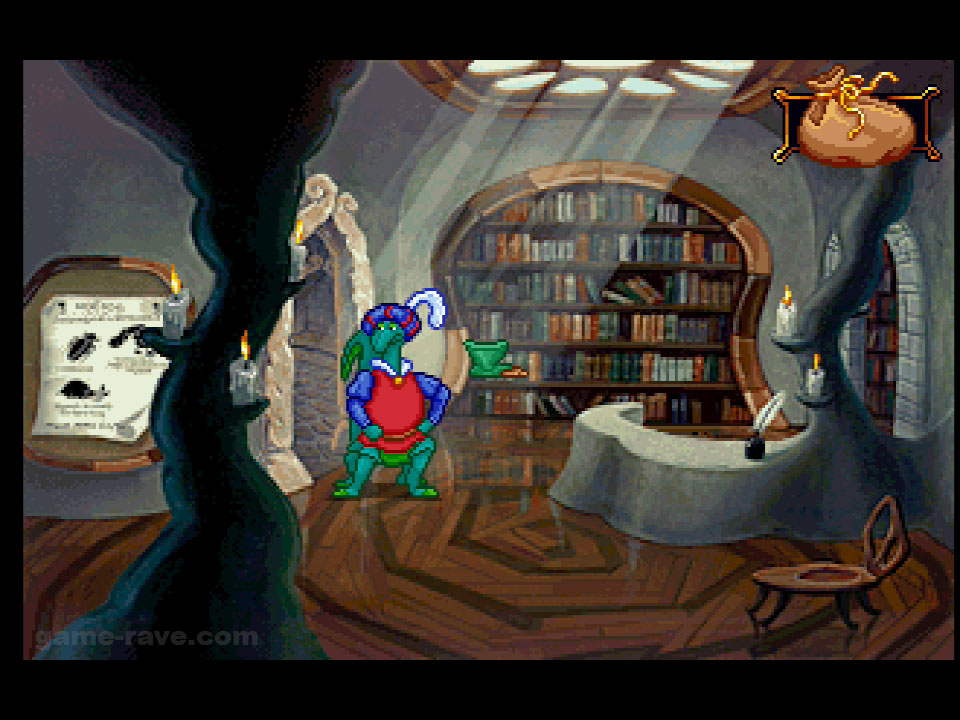
Library
Talk to the librarian asking if you need help finding a book. Tell her you’re looking for “Crushing The Will of the Weak With No Remorse” and she’ll discover it’s not in her collection (it’s in the Chancellor’s room). Once she heads into the back storage room, swipe the Feather Duster.
Now talk to Trivet the Jester. Ask what he’s doing, and agree to be hypnotized by the princess. After a short sequence, go back up to Trivet and use the Hand Mirror on him. Once you have control again, use Flame’s Trunk in him and another sequence will start. With all that nonsense out of the way, head back to Downtown Camelhot.
Downtown Camelhot.
Use the Feather Duster on the pizza maker, and then swipe his Pizza Paddle. Use the Pitchfork on the mole trail at the bottom of the screen to stop Lance the Mole in his tracks. Swipe him from the ground. Use the Sheet with Holes on the wooden stake buried in the cornfield. Once the crows are gone, take the Ear of Corn from the stalk at the bottom of the screen.
With all that cleared, head left back into the arena area.
Tournament Entrance
Use Lance the Mole on the blue and yellow pole of the sign. He’ll bury under it and lower it. Once lowered, talk to the worker again. Try to take his Stilts, and when he counters, reply with, “Eddie Ember from Local 47…” to be given permission. Snag the Stilts and let’s move on. Bring up the map and head to the new Mountain Pass location, we have a Dodo to save!
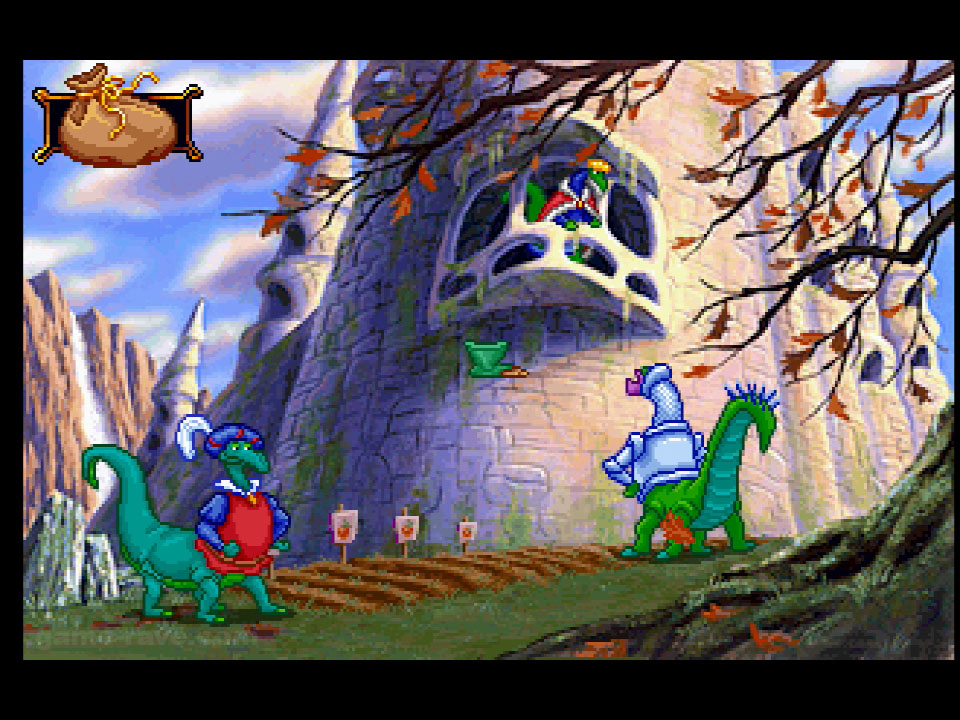
Mountain Pass
Use the Eyeball icon to inspect the bear trap far left. Then inspect the Ant on the bear trap. We’ll be back later.
Use the map and warp back to the castle, and then head straight for the Library upstairs.
Library
Use the Dodo Stamp on that poster you looked at in the early moments of the game. Now that he’s safe, it’s time to head back to the top of the hill where you used the cat on the dog.
Top Of the Hill
Grab the Bone left behind by Sir George’s dog. With that secured, open up the map and head to the Dodo’s new location, Downtown Grim.
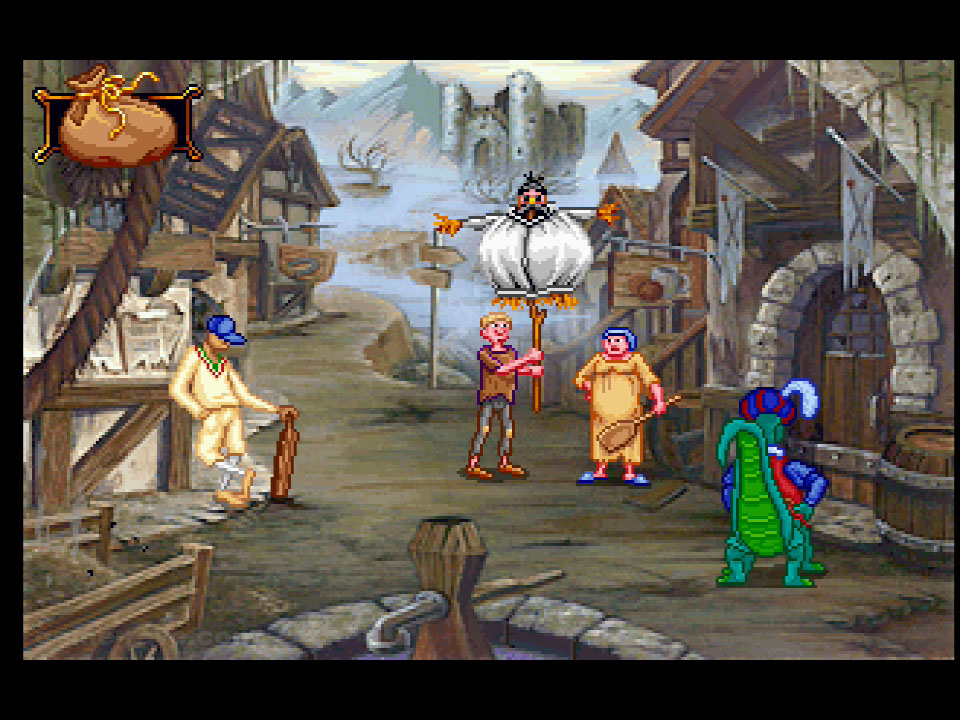
Downtown Grim
Use the Peruvian Coal on the stuffed Sir George dummy. Pick up the Effigy Head left behind and use it on the manure pile in the bottom left side of the screen. Stash it and then snag the Paddle left behind on the ground. Talk to the Cricket player and then head right into the Juice Pub.
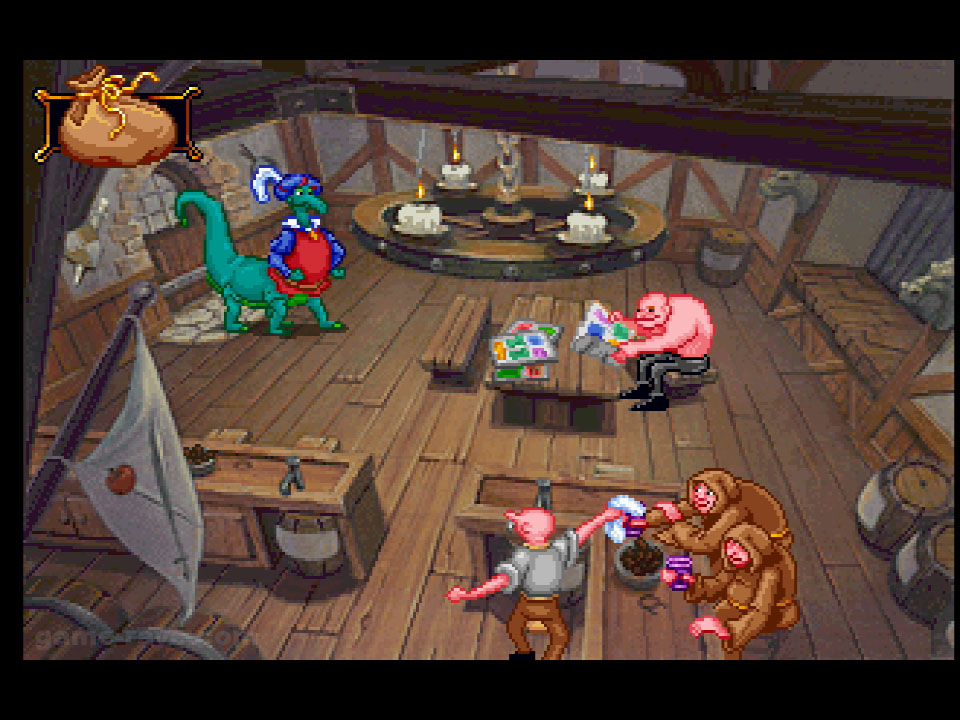
Juice Pub
Tell the bartender you’ll take the job. Head back outside to the cricket player. Use the Cracker on him and he’ll head into the pub. Go back inside.
Head over to the monks at the bottom right and take Prunes from the bowl. Try taking the Comics from the strongman and he will challenge you to the game’s second mini-game; the dance-off!

The Controls:
Simply press the matching button on-screen as it lights up. This will use the D-Pad, all four thumb buttons, and L1 and R1. There are three stages, with the speed of button prompts getting faster each next stage.
The sequence is the same no matter how many times you try, so you can use the movements below to prepare for the stage.
Dance 1: Square, Cross, Circle, Triangle, R1, L1, Cross, Square, L1, R1, Triangle, Circle
Dance 2: Square, Circle, Square, Circle, L1, R1, Triangle, Circle, L1, R1, Circle, Cross
Dance 3: Circle, Cross, Square, Triangle, R1, L1, R1, L1, Triangle, L1, R1, Triangle, Circle, Cross, Square, L1, R1, Cross
Once he’s been shamed and defeated be sure to actually take the Comics from the table. It’s time to pay Sir George a visit. Head outside and walk to the castle at the top of the screen.

Castle Grim (Front Gate)
Open your bag. Use the Prunes on the Comics, and once merged, use that on the Tartan Ribbon. You’ll have made the Gift of Prunes. With that wrapped up, use the bell the Dodo rang. Talk to the guard, and once he’s closed the door, ring the bell again and say you have a delivery. Hand the Gift of Prunes over and enjoy the chuckle.
With the moat now drained, use the Salad Tongs on the Electric Eel and stash it. Walk into the back door area at the far right of the screen.
Castle Grim (Back Door)
There is nothing here right now, but eventually, you’ll be able to play fetch with Sir George’s dog. More on that later. For now, we’ll need to head up and to the left to the royal bathroom.
Castle Grim (Bathroom)
Thankfully the attendant is blind, but we’ll have to pass a test to get what we need. Talk to him, and after you fail the first time, use the Effigy Head Covered In Manure on him. He’ll think you’re the king and hand over Rust-B-Gone and the King’s Armor.
Head back downstairs and now move right into the courtyard.
Castle Grim (Courtyard)
Now we get to have some fun. Head downstairs into Merlin’s basement.

Castle Grim (Merlin’s Basement)
Poor Flame is locked up, but we’ll get to her in a second. Take the Launch Code blue scroll off of Merlin’s desk. Now head back upstairs to the Courtyard.
Castle Grim (Courtyard)
First, walk up to the giant gate control wheel at the top of the screen and use it to close the gate. Now use the Launch Code on the guard closest to the gate. A scene will play out, and once you have control of Flicker again, head back downstairs to Flame.
Castle Grim (Merlin’s Basement)
Use the Bone on the jail cell door, and Sir George’s dog will bring you the keys to open it. Another scene will play out, and after all is said and done, you’ll find yourself in the Castle Entry. It’s time to rescue another damsel in distress. Open up your map and head to the Lady in the Lake in the almost center of the map.

Walk-Through – Part 3
Lake
One of the few areas where it spans multiple screens. Let’s deal with the left half first. The poor Lady of the Lake has been captured by a fisherman. Now’s the time to use the Electric Eel on the lake water, and this will shock the fisherman.
The Lady will now talk to Flicker about several things. Once she confirms she’ll reveal the stairs, you can bid her adieu. Walk over to the right side of the screen. You’ll be met with Flicker’s dreaded fear of water.
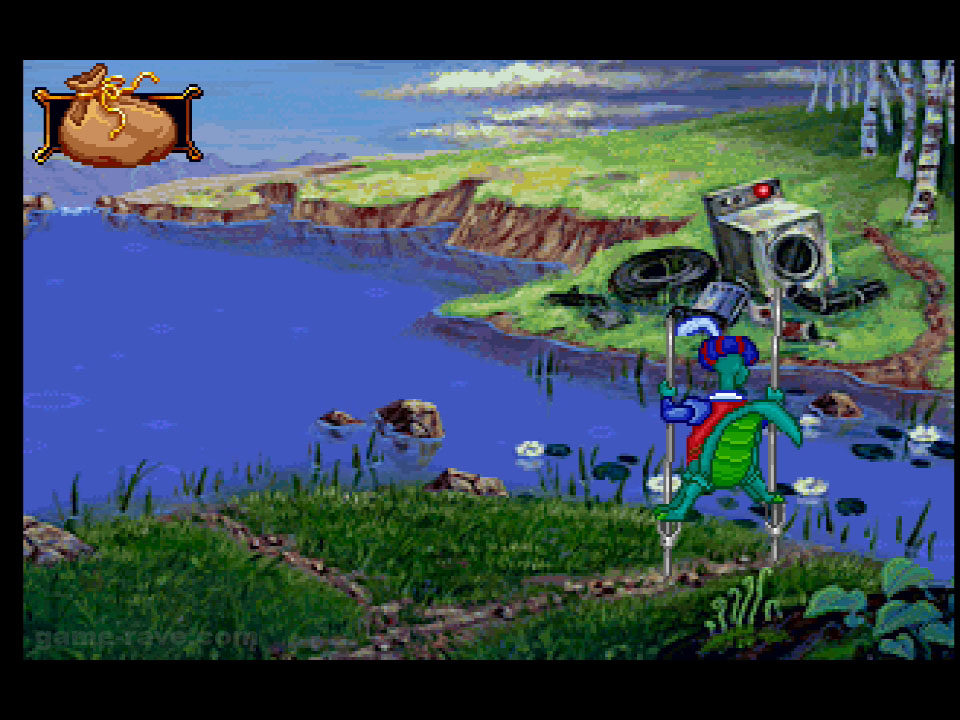
Use the Stilts to wade over the tiny stream and get to the garbage pile.
This is the most confusing part of the game in terms of what you can do with the dryer. First, remove the sword from it to transfer the electricity. Now, use your eyeball on the top of the dryer near the red button until you hear Flicker call out the temperature setting. Change to the Use icon and switch the dryer to delicate. Now use the Corn on the dryer for the perfectly dried specimen.
Note: If you used the corn before changing the setting, you can go back to Downtown Camelhot and grab another corn ear. It will re-spawn infinitely.
Take the Dried Corn and then be sure to snag the Boat Oar on the left side of the garbage pile.
With all this covered, it’s time to tie up a loose end – head back to the Mountain Pass.
Mountain Pass
Once back, use the Rust-B-Gone on the bear trap to free the Ant. He’ll give you the Whistle. Now it’s off to save the knights, head to Stonehenge.
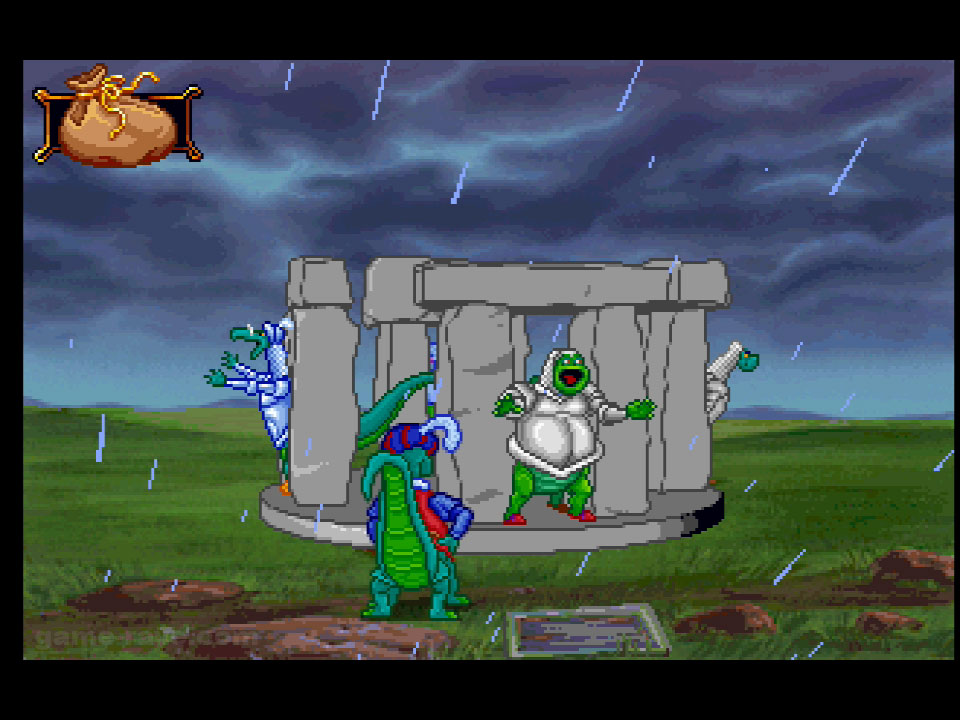
Stonehenge
Talk to the knights, who are trapped in a spinning Stonehenge. They’ll tell you to head to the Mines before you do anything else. So off we go!
Mines
Time to clear this place out. First, use the issue of Monarch Quarterly on the canary. Once he’s asleep and the guards evacuated, pick up the white Mine Powder on the ground directly above the canary’s location. Grab the Pick Ax and a Metal Container from the pile on the left side of the mine. Now we can rescue those knights. Back to Stonehenge, and once there, enter the wooden panel on the ground.
Stonehenge (Underneath)
Hey it’s our comics buddy. First, you need to Use one of the handles of the crank to join in on the turning fun. Once you’re in with him, Use the shaft above, and after a second or two Flicker will climb up to the Wooden Peg. Use the Pick Ax on it to pop it out.
Climb down and pick it up, and then head topside. We need to go back to the Juice Pub for a moment.
Juice Pub
Do you know what that Cricket Player needs? A Wooden Peg. Hand it to him, and he’ll allow you to take his Cricket Bat. This acts as the 4th and final paddle of Flicker’s spinning invention. Back to Stonehenge!
Stonehenge
Use either the Cricket Bat, the Boat Oar, the Pizza Paddle, or the Paddle on the spinning Stonehenge and Flicker will do the rest. A very long and amusing sequence will play out. Once it’s over, you will find yourself in Flicker’s bedroom the day of the Tournament, but you’re not a knight yet. You will need to head to the Cave of Dilemma that was opened up by the Lady of the Lake.
Open your map and click on the waterfall below her near the center of the map.
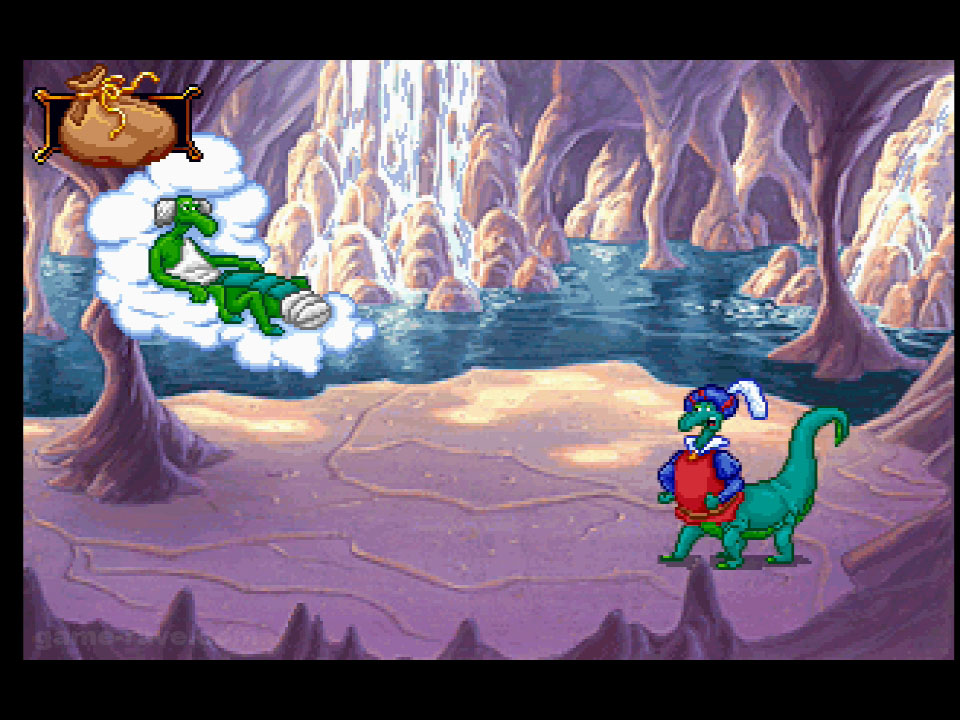
Waterfall / Cave of Dilemma
You’ll start off at the bottom of the falls. Read the sign and head upstairs, then walk all the way to the right to begin your trials. You will need to talk about taking all four challenges. Two of the four are fairly confusing, so don’t worry if you get stuck too.
Here’s how the challenges play out:
Challenge: Test of Dexterity
Use the Shears to trim off the porcupines’ quills. This will lower their wind resistance. Now spin each one by using them.
Challenge: Test of Strength
Use the Whistle to call in the ants, they’ll do the rest.
Challenge: Test of Eye-Hand Co-Ordination
This one is a tad tricky. You have to watch where the white rabbit is, but Flicker’s eyes keep watering up, blocking your view as you blink to clear them. Blink when the hats stop moving, and then hope for the best. It took me a few tries in multiple play-throughs. I got it on the first try when writing up the guide.
Controls: Use Cross to Blink and the D-Pad to move his hand when asked to choose.
Challenge: Test of Something a Wee Bit Scary
Use the knight’s Soap on the monster. Then use the Mine Powder on the cloud. Boom! The laundry’s done.
Now you’ll earn the Cubic Zirconia.
This is it! It’s time to wrap up this whole fairy tale. Head to the Tournament Entrance and then enter the Arena at the back of the screen.
Walk-Through – Part 4
Tournament
Once you enter, a long sequence will play out and then you’ll eventually have control of Flicker during a Thumb Wrestling contest. This is actually way easier than it looks.
The Controls:
Left / Right: Moves Flicker’s thumb left or right.
Cross (X): Press his thumb down.
L1, L2, R1, R2: Acts as Flicker’s strength. Rapidly press these to win your pin, or escape the knight’s pin.
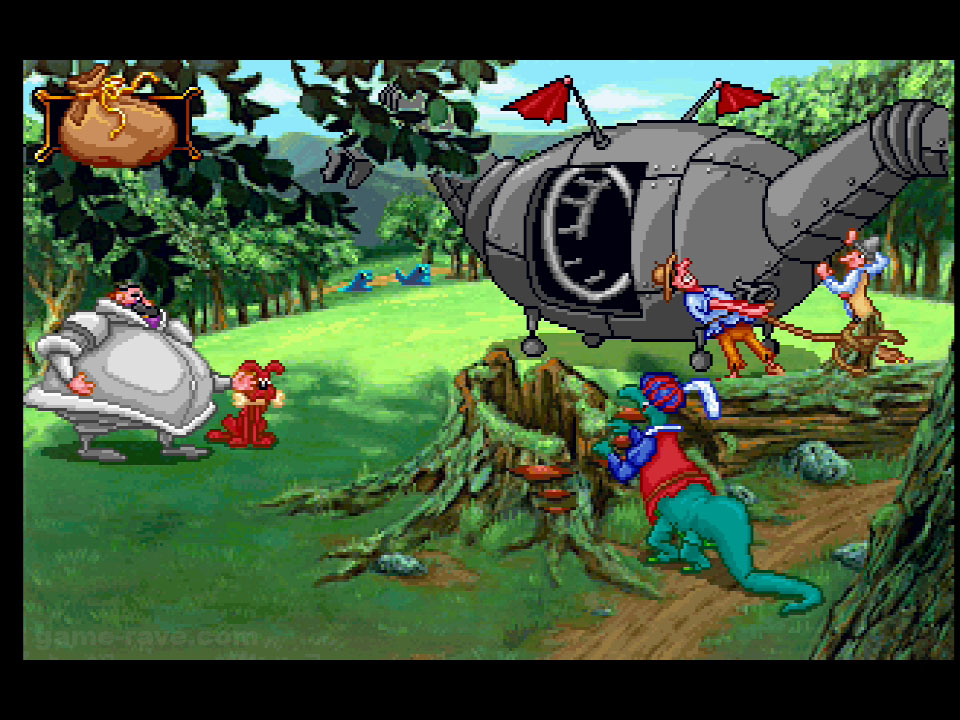
The trick is to not bother with the D-Pad. Simply get a feel for your opponent’s pin attempt, then press and hold Cross and rapidly press the shoulder buttons. You’ll win in seconds. After successfully winning the tournament another fun sequence will play out. You’ll eventually find yourself back at the Tournament Entrance. Head right into the Cat-a-Pult area. You now have a clear view of the Black Dragon. Time for another invention.
Cat-a-pult
Open up your bag and use the Dried Corn on the Metal Container to create the Popcorn Bomb. Use that on the catapult and then move the device into place directly in front of the black dragon. Hold the plunger down for height, and then let it fly. Another sequence plays out, and after all is said and done you’ll find yourself in the Black Dragon’s bowels.
This is it, the end game!
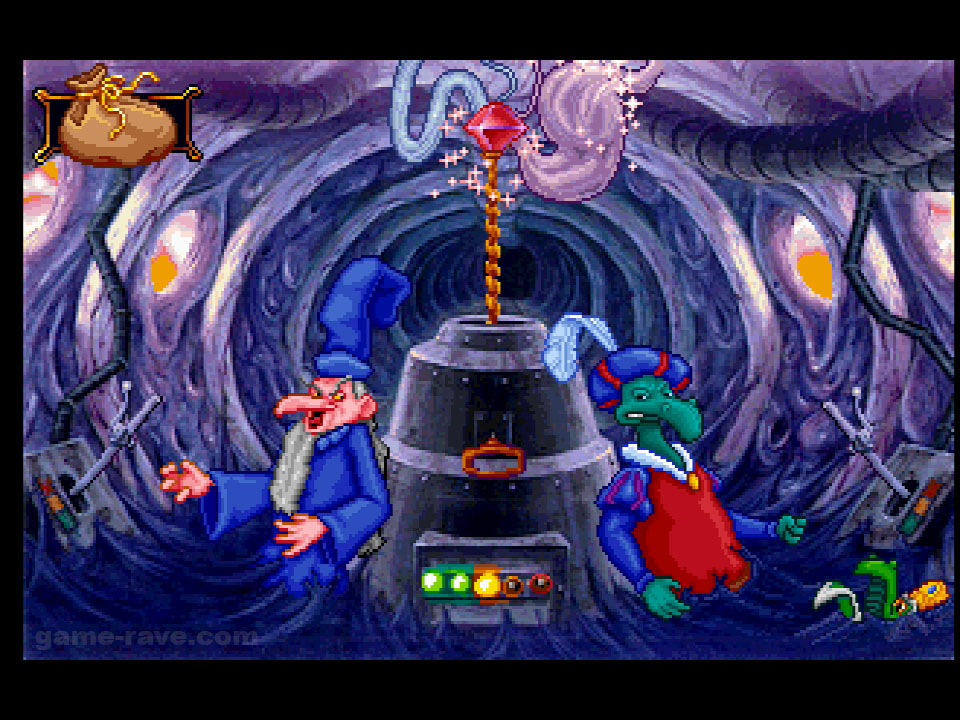
Black Dragon’s Bowels
Merlin and Flicker each have access to a Lever that affects the power of the Black Dragon. However, both of them are stuck in the goop and can’t see each other, only hear each other. If Flicker attempts to use his Lever, Merlin will hear him and counter by using his Lever. In order to counter this, use the Lever twice. With Merlin now paying attention, open up your bag and use Flicker’s Clicker invention that you’ve had since the game started on Merlin.
He’ll believe you’ve used the Lever, and in moving his, stalls the dragon. Merlin will now turn around and try to restart the engine using the pull cord. Quickly open your bag and use the Clippers on the cord as he pulls.
That’s it! Enjoy the ending and credits.